Frames
AI Chatbot Release
Thrive were poised to release their AI implementation offering in the form of a chat assistant named 'Kiki'. I was tasked in bringing excitement to the product to create the biggest impact possible with their current customers, and also create a statement to the wider AI global market.
I was entrusted with designing all the visuals around the AI assistant that would feed a wider brand campaign, and provide an attention grabbing animation that would engage prospects on Thrive's social platforms.

Kiki AI Assistant
Exploration & Concept
Storyboarding
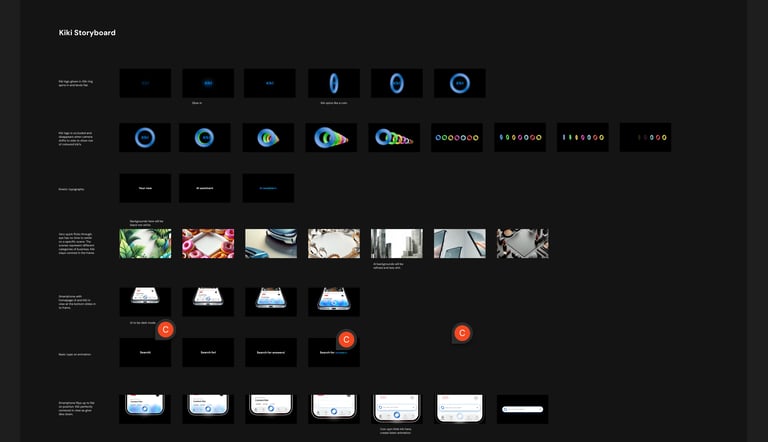
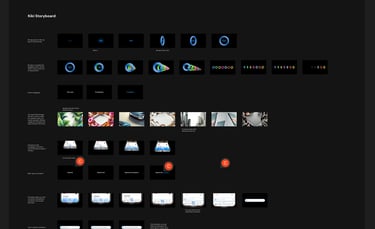
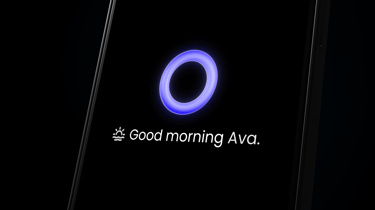
Once the main design of Kiki was signed off, I began mapping out a storyboard whilst looping in with UI/UX team and Marketing department to align the visuals and cross check product facts with the project managers. I roughed up the screens quickly to portray the general idea to the CEO whilst confirming the animations portrayed the script points correctly.
This was also a chance to provide some early visuals to the marketing graphics designers to begin teasing the launch. Later, I would also collate rendered screens from the animation on a rolling basis so there was a feed of content appearing on the fly.
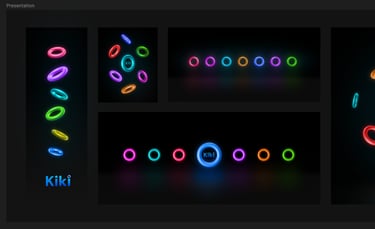
Deliverables
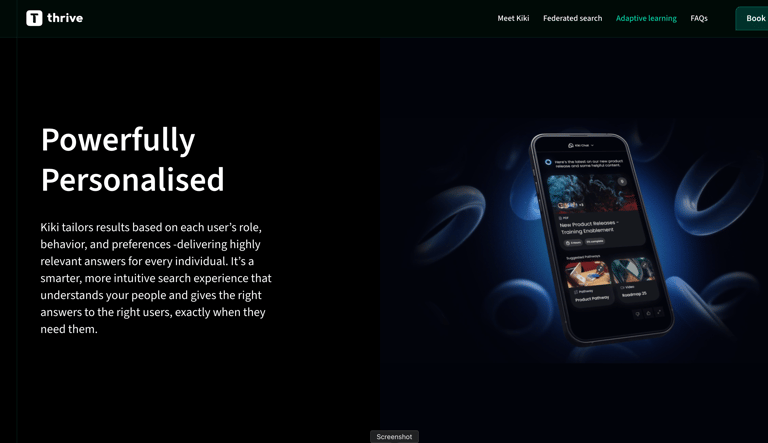
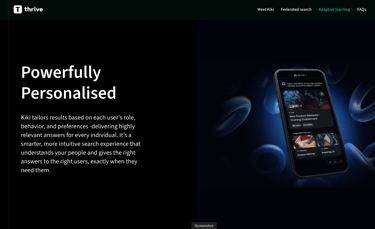
The animation process took a total of 2 weeks including concepting and storyboarding. I was able to provide, a 45 second animation, 1x1 animated social teaser, text logo, a static design pack and 30 plus renders from the main video. The graphic provisions and animations also provided a base for the Web Development team creating the landing page.


Animation
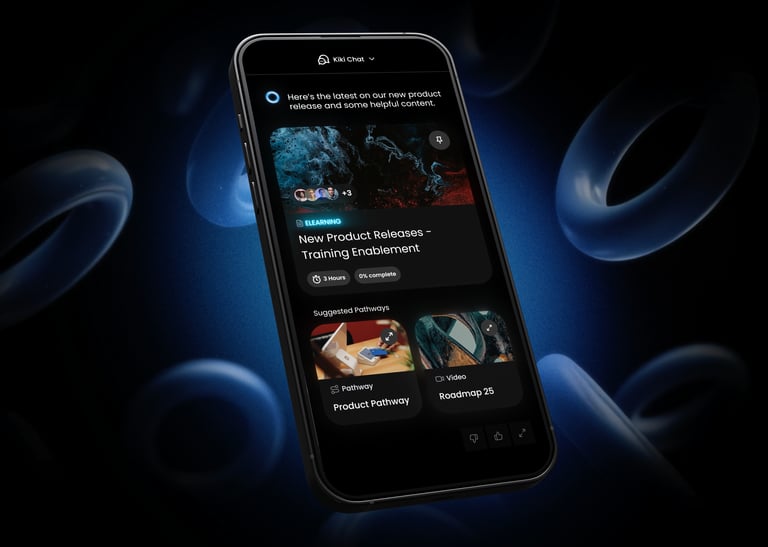
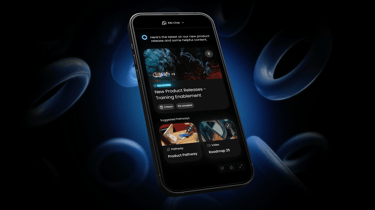
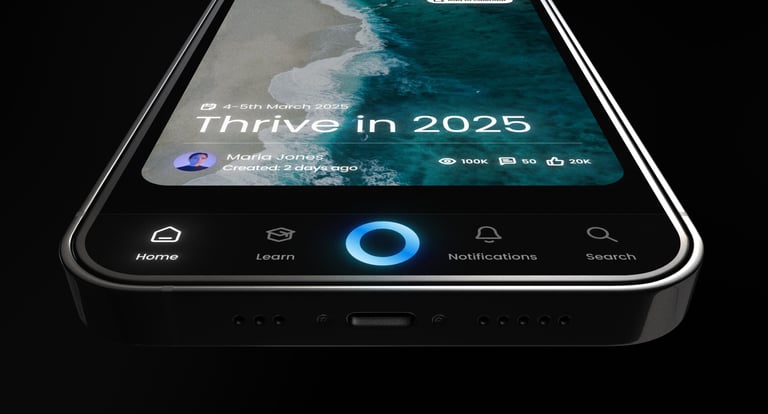
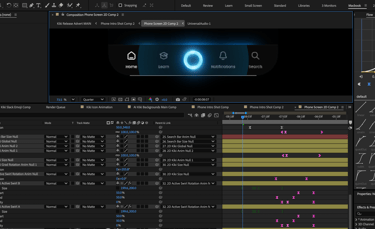
The main animation process began with rigging a 3d iPhone with interchanagable phone screen comps. I used After Effects new Advanced 3d renderer to gain access to ray traced lighting, with 2d comps nested within for the UI screens.
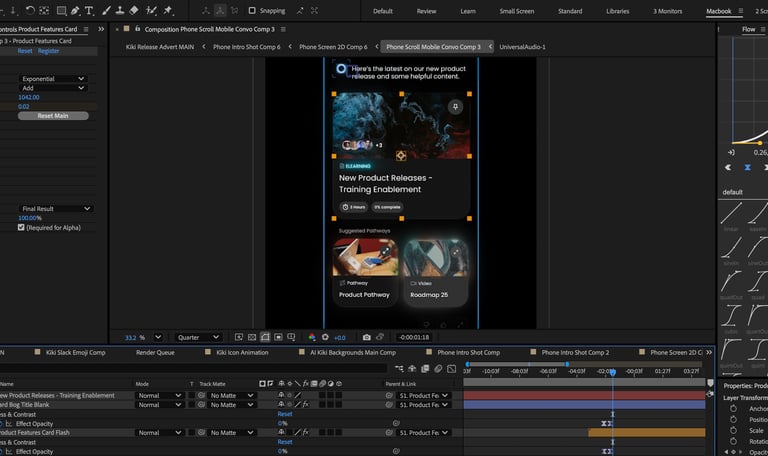
The screens were mocked up, created and layer organised in Figma, then exported via overlord 2 plugin. This enabled me to adapt the UI later on in after effects avoiding baking uneditable designs.
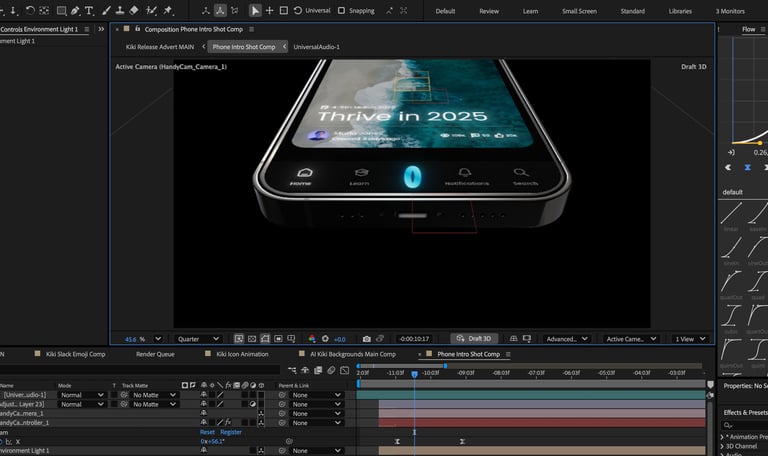

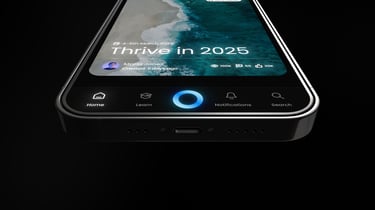
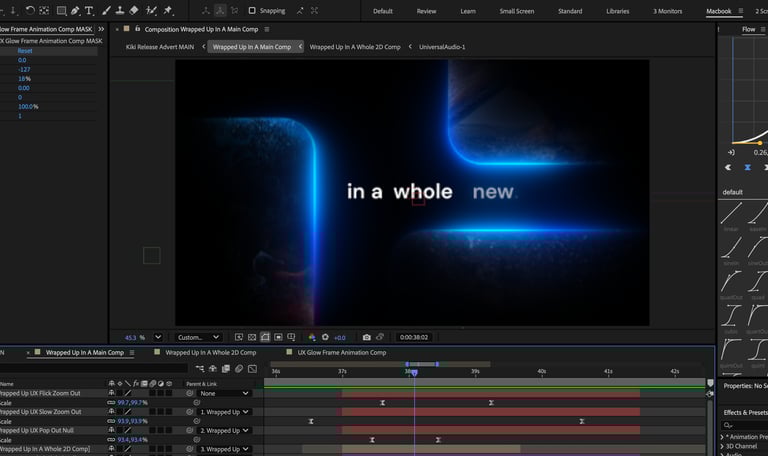
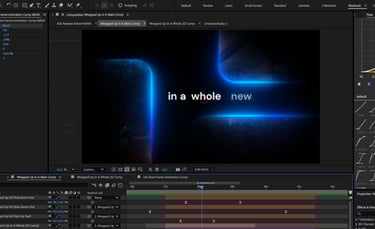
I spent a decent amount of time on the lighting, using an HDRI that I could then reposition to catch the edges of the phone against the black background.
I also had fun with animating the rotation of the HDRI to animate the edge lighting, using the movement to direct the eye to certain areas of the frame.
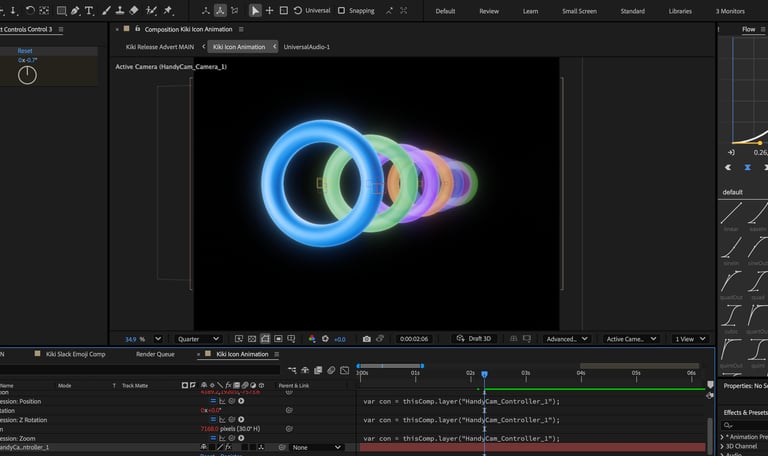
The ring intro took a while to nail the movement of the rings splaying and then flattening to a row. To direct the camera I was using a plugin called handycam, which provides better axis control than the standard AE camera system.
I used a simple script to link the cameras y axis control to multiple guide layers containing angle controls. This enabled me to layer multiple easings across each other, simplifying the refinement process.
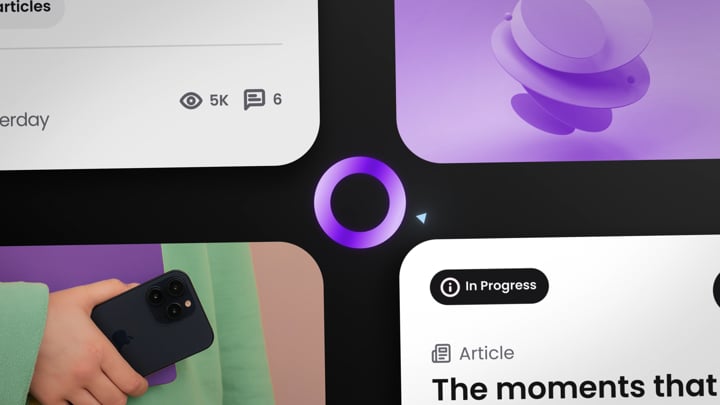
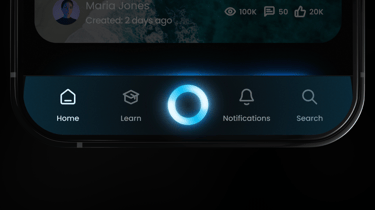
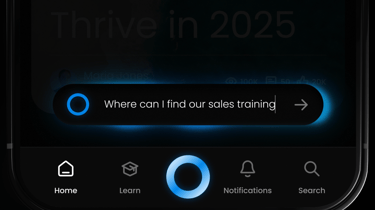
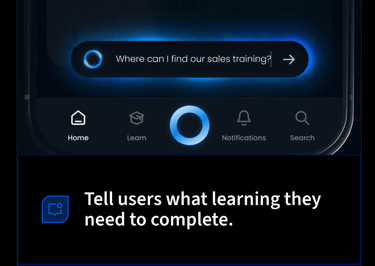
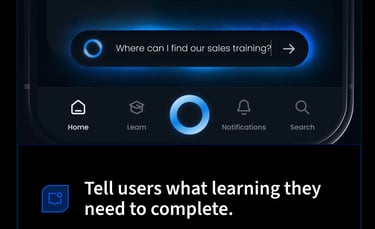
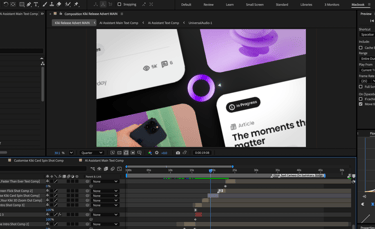
Due to the chat assistant being in development during the animation process, I had to create UI not yet in existance with guidance from the UI team. I over stylised certain elements (hover states, interactions etc) but concentrated on keeping the UI layout true to final intended product.
Keeping the project layer organised and documented was crucial to ongoing changes in development right up to the final delivery week.
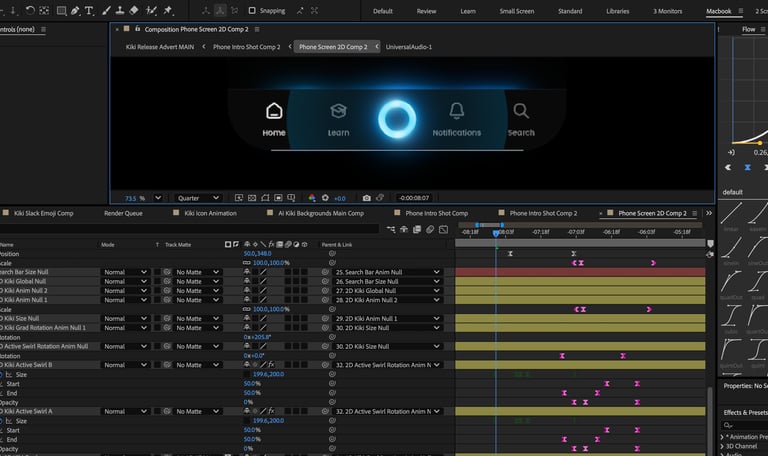
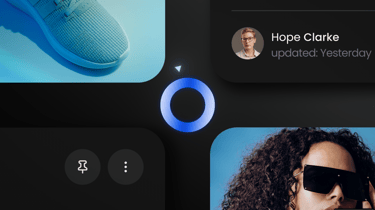
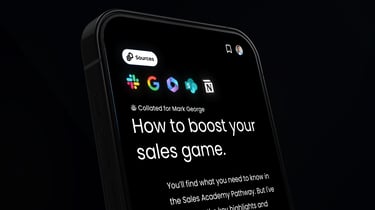
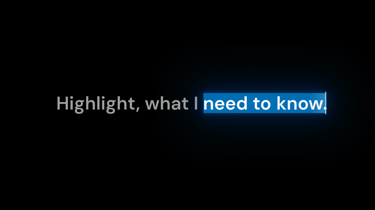
Some of the animations had to stay abstract simply because no UI was available at the time of production. I used this as an opportunity to play around with interesting motion and to highlight the 'beat' on the chosen music track. The video had to both show the workings of the UI but stay high level in its overview.

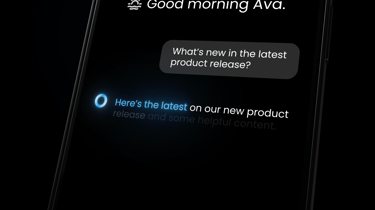
One of the greatest challenges was keeping the pace of the animation to match the high energy of the music, whilst also keeping any text legible. After the first pass of the animation was complete it was clear some of the cuts and transitions were not fitting with music. I dived in to Davinci Resolve to attempt a quick 'cut up' of the project which then gave a guide map to retime a lot of the animation. It was a painful job but well worth the effort.
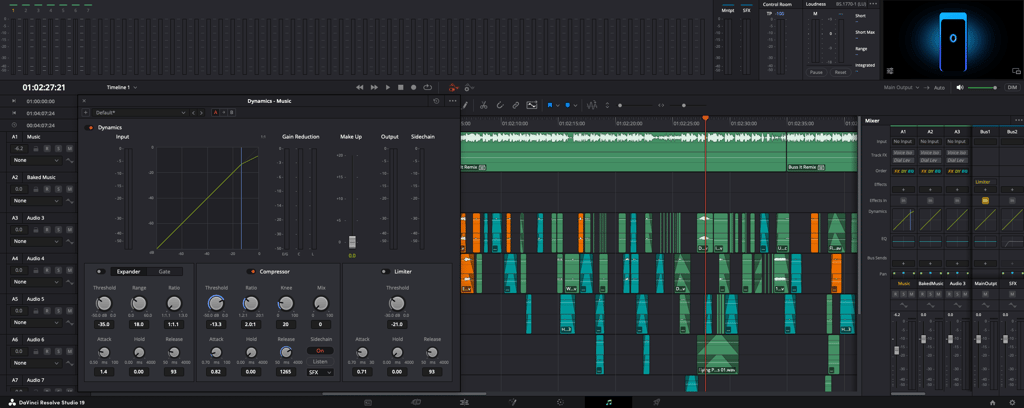
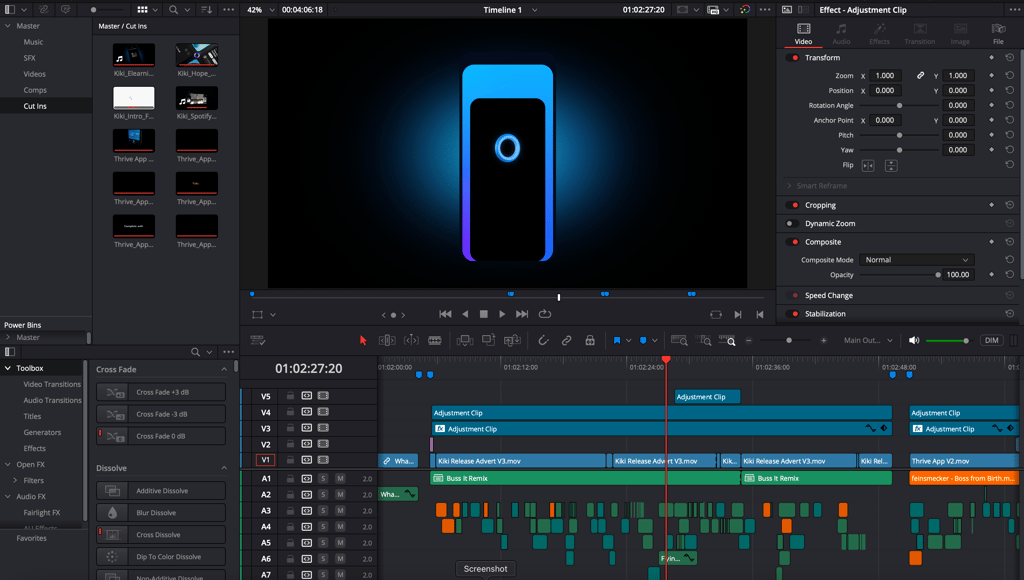
I finalised with some basic colour correction and grain to avoid banding rendering down from 16 bit to 8bit, and edited extra sound effects within Davinci Resolve. The SFX track was side chained to the music track to automate volume correction and balance the SFX against the music.
My colour work flow was mapped out as:
Rec 709 2.4 monitored colour unmanaged in After Effects > Interpreted as such in Davinci through a calibrated monitor > Final delivery format provided with 1- 1- 1 colour tags to retain the 709 2.4 gamma curve on multiple platforms (you tube, linkedin etc) with final intention as SRGB web final delivery.
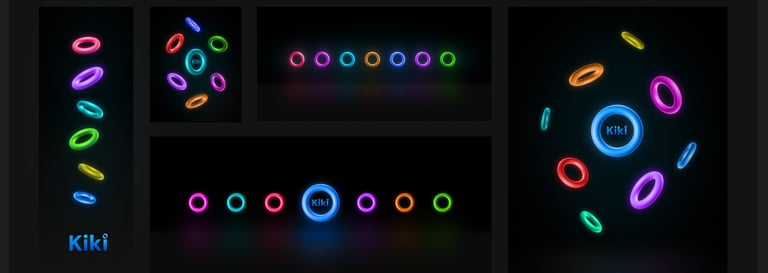
Final Touches
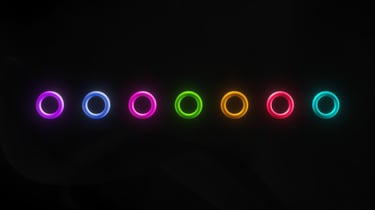
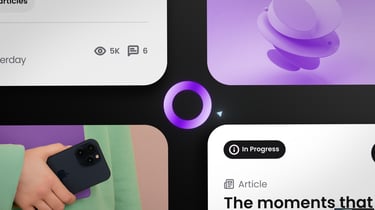
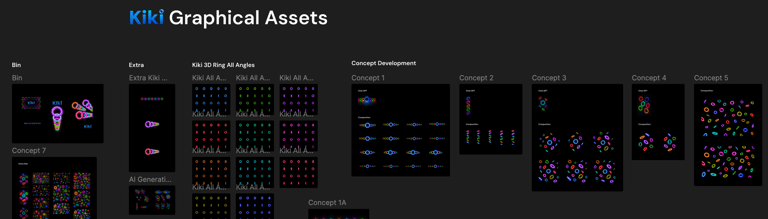
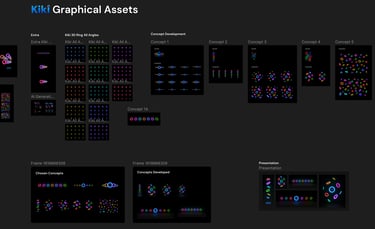
I began with graphic exploration around some designs in use by the UI team. They were using a simple halo like icon, but wished to explore visual concepts further to refine the design. With direction from the CEO that the design should facilitate personalisations with customers own brands, I explored the idea of multiple colour offerings. The ability to customise the AI character later became part of the products feature. This was to be a running theme through out all the designs and animation.